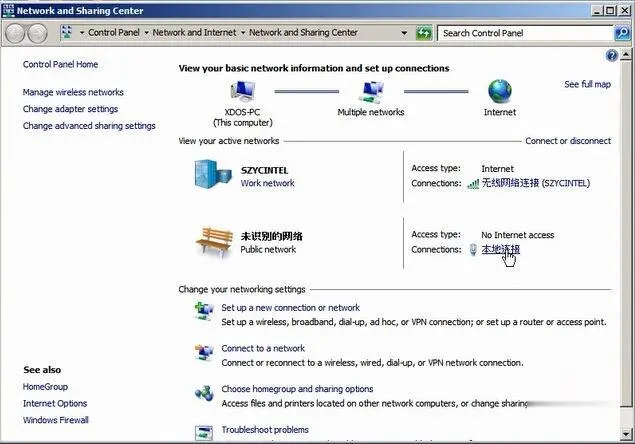
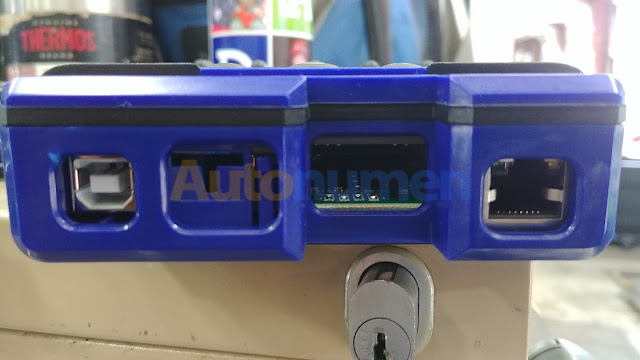
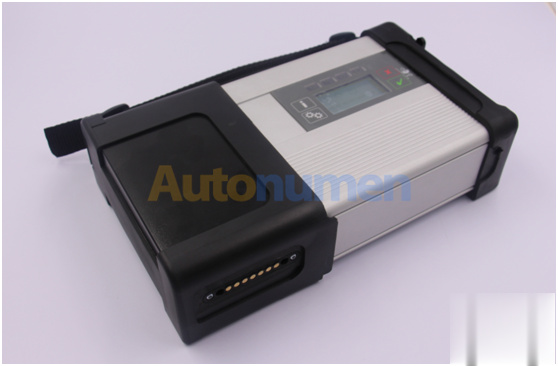
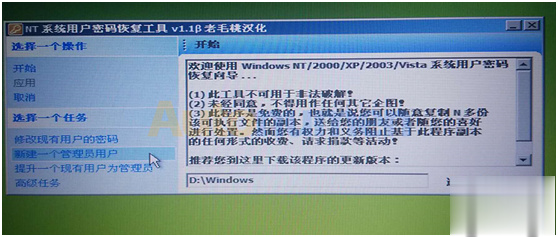
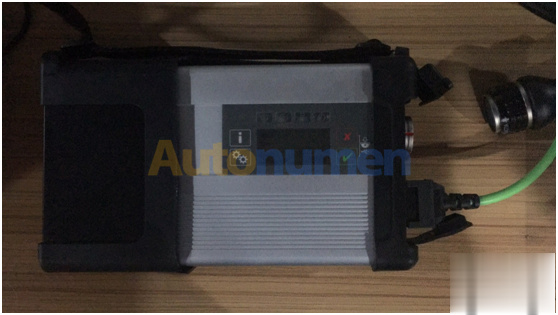
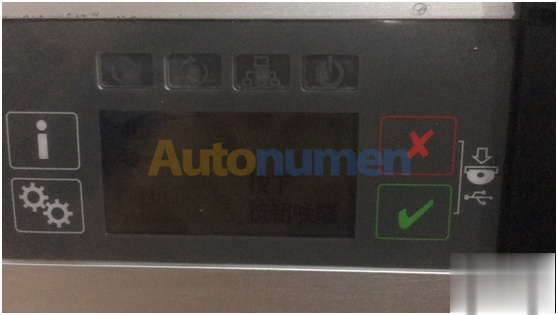
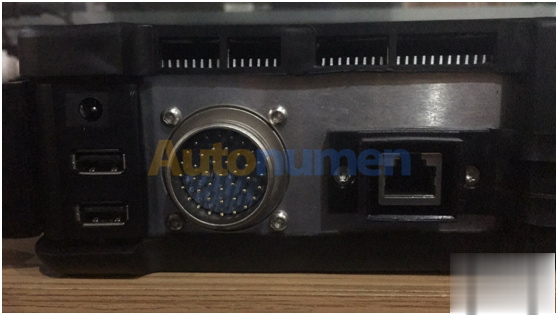
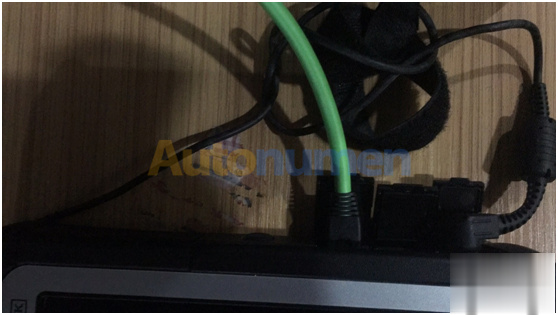
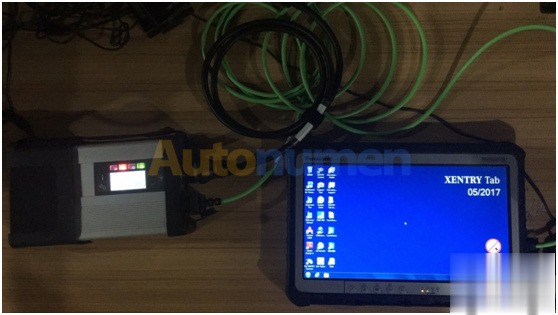
To diagnose Mercedes Benz DoIP models with the new MB Star SD Connect C4 DoIP diagnostic scanner, you need to configure it first. Follow steps below to configure SD Connect C4 DoIP multiplexer:
1. Go to local network connection
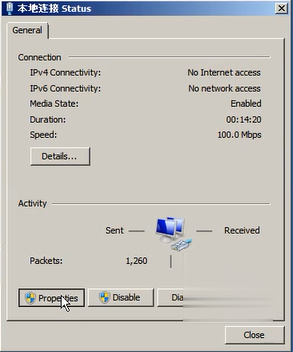
2. Press Properties
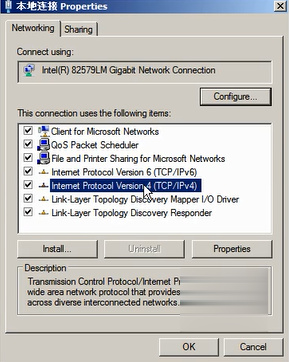
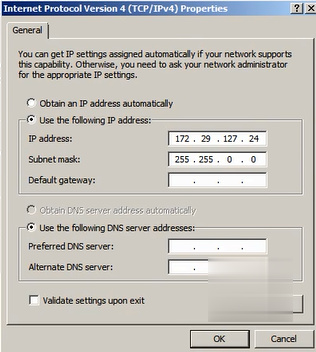
3. Choose Internet Protocol Version 4 (TCP/IPv4), press OK to continue
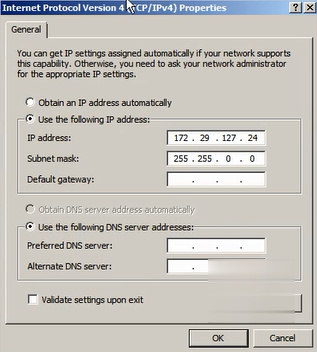
4. Enter IP address
IP address: 172.29.127.24
Subnet mask: 255.255.0.0
5. Click on Advanced
6. Click on Add to configure DoIP IP address
7. Set DoIP IP address to 169.254.0.** (i.e 169.254.0.45)
Obdstar has released cluster calibration upgrade for Mercedes Benz, Ford, GM, Suzuki recently. Compatible with Obdstar X300 DP Plus, ODO Master and X300 DP.
Benz Cluster Calibration Upgrade V30.54
Details added:
Cluster calibration function, please install a filter.
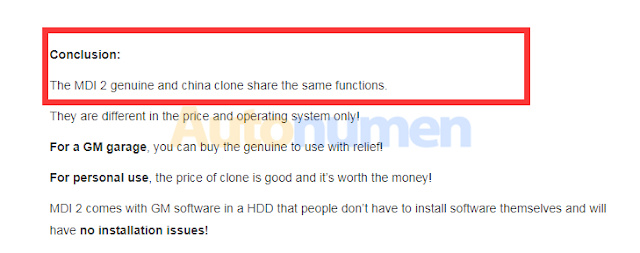
Returning the MDI 2 for item SP163-C is not what I want. I purchased an MDI 2 because it’s supposed to be better than an MDI in multiple ways. The MDI 2 is supposed to be able to power off the USB connection when not plugged into a vehicle. It does work when plugged into a vehicle, but the GM MDI2 is supposed to be able to power up from a usb connection alone. This blog says the original and clone share the same functions and only differ in price and operating system.
The WiFi in the MDI 2 (SP163-E) that I received seems to be built in instead of being a USB dongle, and so far I haven’t been able to set up the point to point WiFi communication the MDI 2 is also supposed to be capable of.
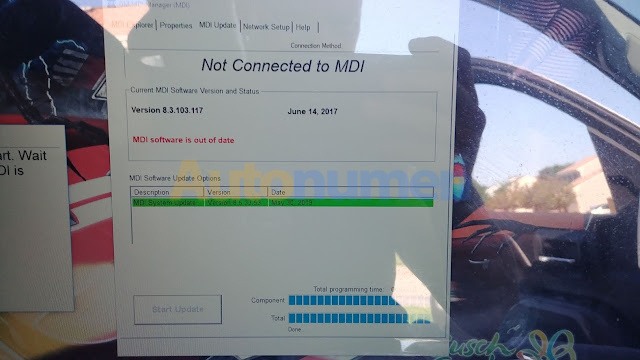
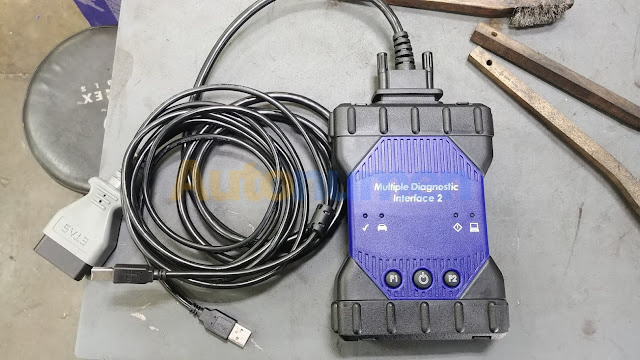
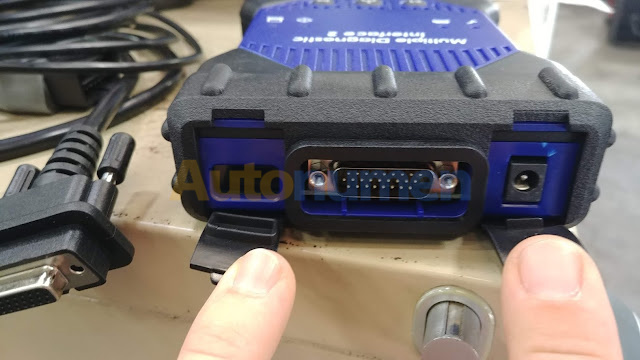
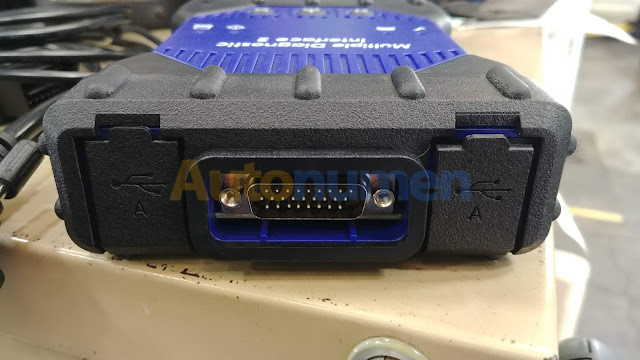
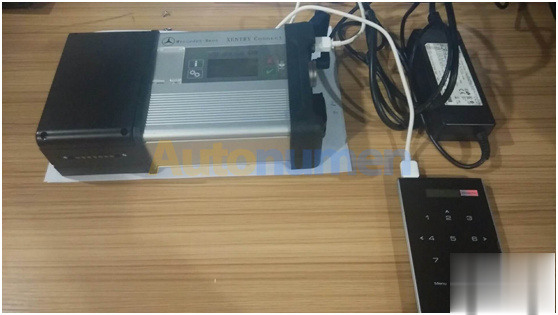
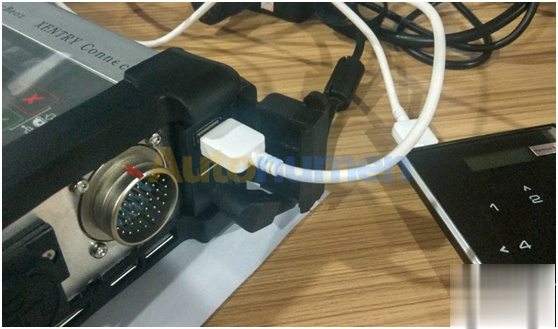
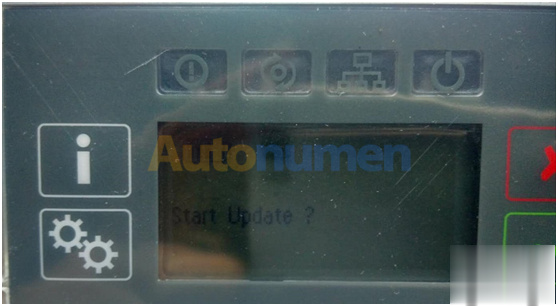
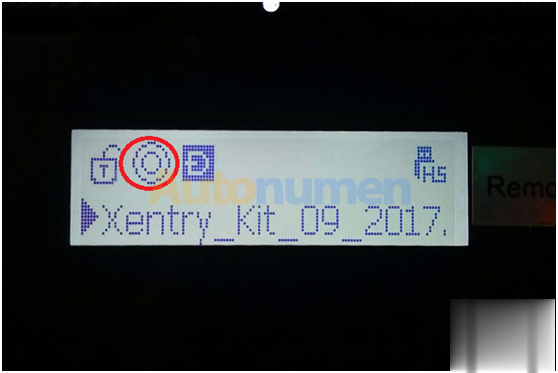
Here are some pictures showing the firmware update being done, and where there aren’t any USB A ports under the covers labeled as USB A
The unit looks good, however it seems to simply be an MDI made to look like and MDI 2. When I plug it into a computer it will not power of the usb connection like and MDI 2 is supposed to, it does not have the USB A ports under the covers instead the is no opening under 1 and a power connector under the other like on the original MDI unit. I don’t see an SD card expansion slot like the MDI 2 is supposed to have either.
Once I was able to plug the unit in and get it powered up the GM MDI Manager software doesn’t recognize it as a MDI 2 but as a MDI. I could not connect to it until I updated the software, because it was 2 years old. Which not really a big deal because I was expecting the software to require and update to be the most current.
So my advice is: dont waste money on MDI2 knock-off. Just take a MDI instead if china clone
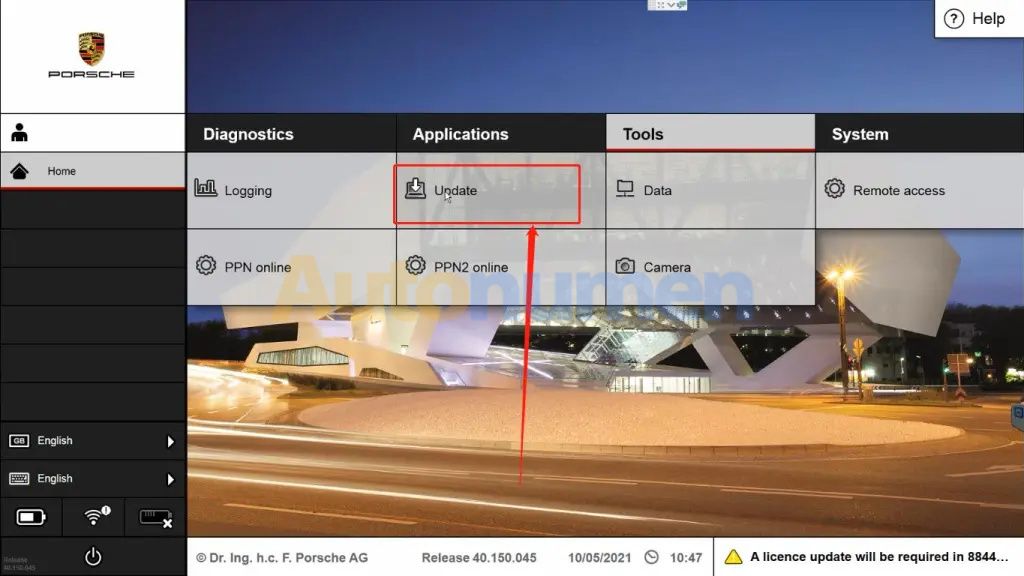
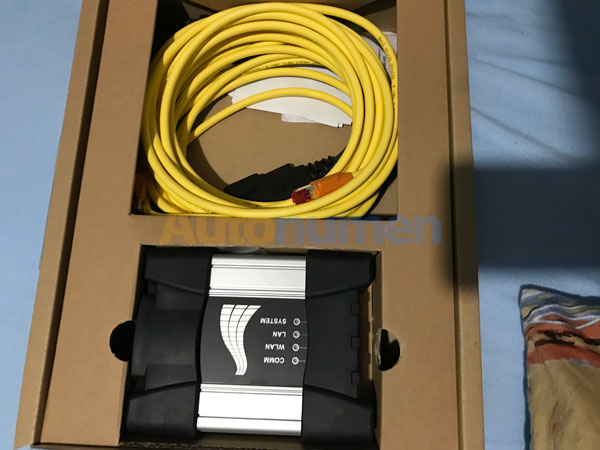
BMW ICOM Next A+B+C diagnostic and programming tool is the Latest Generation of ICOM A2 For BMW, MINI, Rolls-Royce BMW-Model. BMW ICOM NEXT newest firmware 3.14.10 is available. There are still many users confuse about how to update ICOM NEXT A+B+C firmware. Here Autonumen.com will offer the update tutorial.
First, you need to download the file, they were free, these resource were shared by kind friends on the forum, pleased try it at your own risk, i don’t take responsibility for any damage for your device:
There are two optional ways for you: one is using ISTA-D, another is by MSI Installer and Web interface.
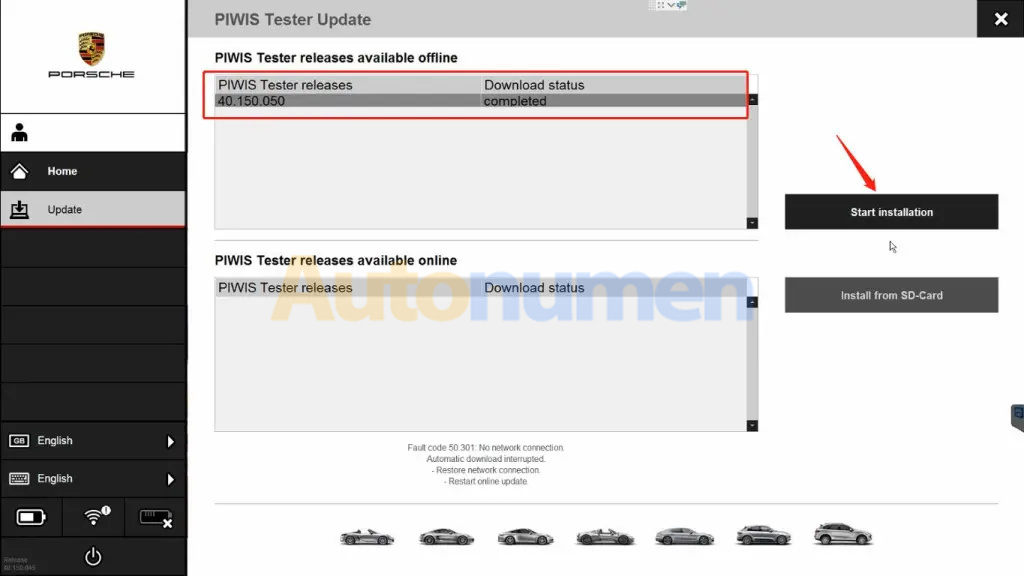
Option 1. Update BMW ICOM NEXT firmware via ISTA-D:
First, install ISTA-D software on your system so you can use it to install the firmware on your ICOM.
Next, start ISTA-D with ICOM connected to your car (Don’t need KL15, KL30 13.8V on pin 16 and ground on 4+5 is enough)
Then, go to connection manager and start the update.
How to get to the ISTA connection manager?
You can click on the button as following picture shows:
Option 2. Update BMW ICOM NEXT firmware via WIS Installer:
First, install the MSI installer
Next, find the system and application firmware file (.bin for ICOM A1/A2 and .tar.gz for ICOM NEXT) in your installed folder, System = ICOM Next-rootfs-XXXXXX. tar.gz, Application = ICOM Next-app-XXXXXX. tar.gz
Then, upgrade the ICOM firmware by web interface.
Note: For BMW ICOM NEXT firmware, the tarball is in C:\ProgramData\BMW\ISPI\data\TRIC\ICOMNext after you installed the MSI installer.
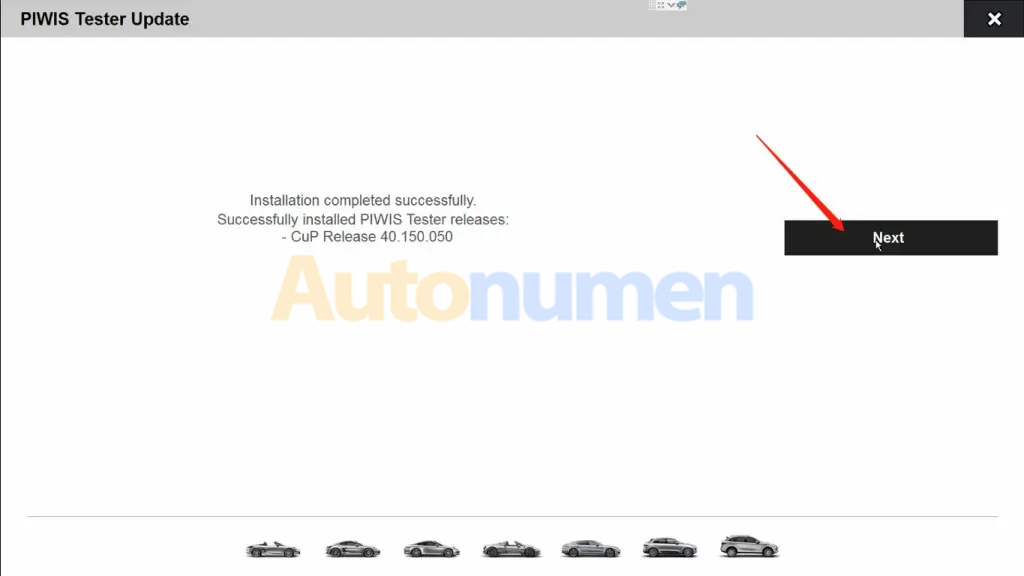
ICOM NEXT firmware 3.14.10 is tested on forum.
Here is feedback for your reference:
I test it this morning on a CIC of an E90 and an E60. And now also ICOM NEXT is flashing like HELL. So the bug of slow flashing CICR is gone with this upgrade. This I can confirm. THANK, it was long waiting but it was worth it.
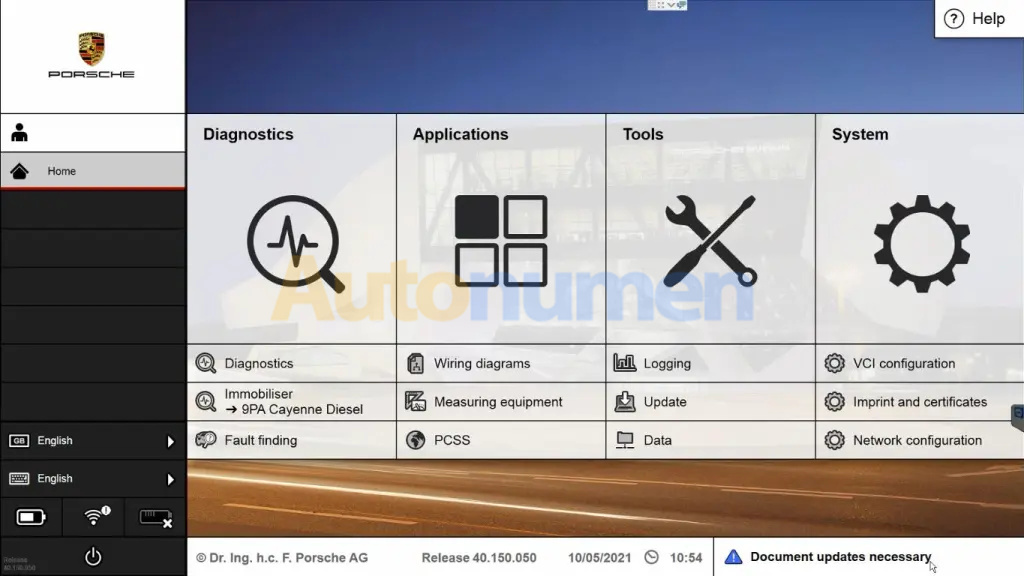
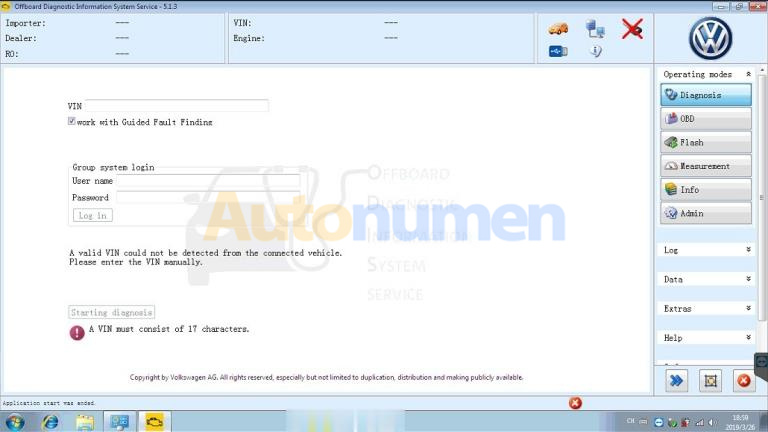
vag odis software has updated to 5.1.3. odis 5.1.3 can work with vas5054a and vas6154 diagnostic tool. we have the odis 5.1.3 software available, if you wanna try to install the odis 5.1.3 by yourself, you can get the link of odis 5.1.3 software here.
ODIS 5.1.3 and postsetup + Flashdata without the activation files.
Note: Vxdas.com engineer didn’t test the software in the link, you have to install the software at your own risk.
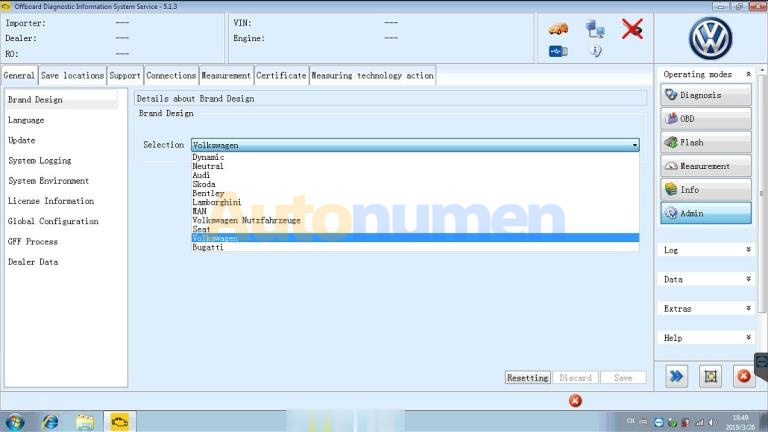
But we now have the odis 5.1.3 hdd/ssd with elsawin 6.0, etka 8.1 and odis engineer software 9.0.4 installed available, and tested ok with vas5054 and vas6154. Ready to use!
ODIS 5.1.3:
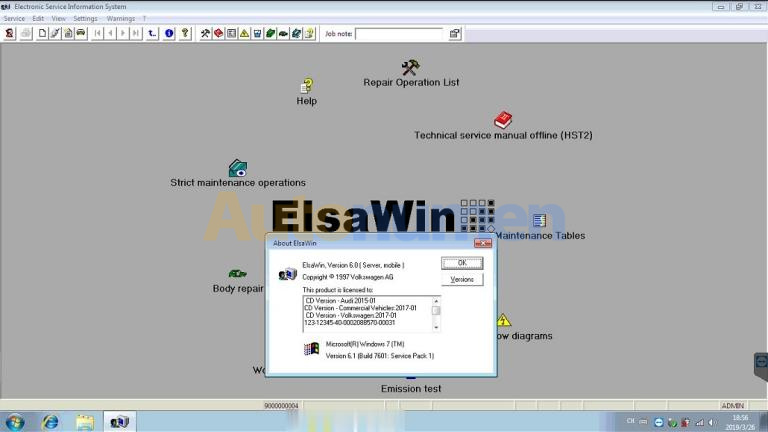
Elsawin 6.0:
ETKA 8.1:
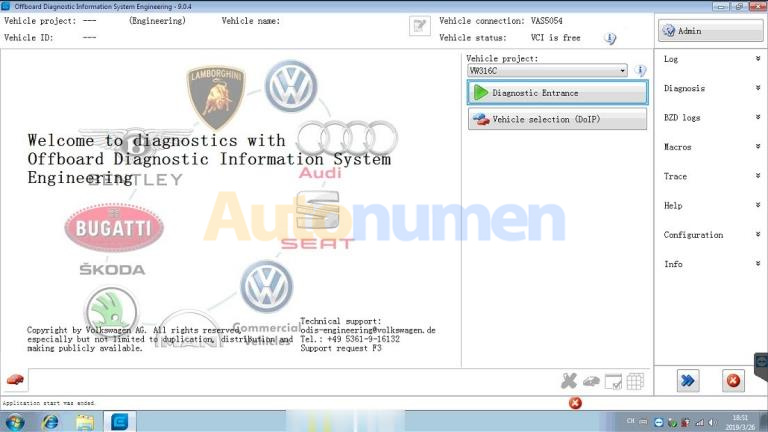
ODIS engineer software 9.0.4:
You can choose the odis 5.1.3 hdd/ssd to update your vag diagnostic and programming system.
Any other questoins about odis 5.1.3 software, you can contact vxdas.com team freely!
Topic: VCM2 firmware and IDS software compatibility
It works perfectly using IDS 96.05 with firmware 2.1.119.3 from older IDS version. But even with changing the serial number, I have not been able to get it to connect to vehicle PCM with anything newer than that older firmware to use IDS 97 or 98 – Preferably 98.04 that came out today which still uses the 2.3.85.7 firmware.
IDS 97/98 don’t support that older firmware anymore so I can’t use it with the newer IDS versions. (Additionally, I changed the serial before updating to one that I know is legit (actually tried a couple different ones), it will update and install fine.) But if I update the firmware on the device to 2.3.85.7 to use IDS 97 or 98 it will update. It will show up in IDS as connected. When you actually go to use it, you can hear the relays click on as normal, but the unit will not establish a connection to the vehicles PCM to be able to use it.
Searched a lot…
And here, post what I did differently so others can benefit from my discoveries
1- Boot in recovery mode, reflash ford v86 (2.1.1.5 if my memory is right?) 2- use the test mode hack and access the web interface. change serial number to a good one. 3- reboot in recovery, reflash (still in v86) to make the serial change persistent. 4- now I have a working Ford VCM2 with a good serial that can work in v98. but before upgrading, let’s put a hacked recovery firmware in it. re-enter test mode via test mode hack. 5-follow the steps cautiously to flash hacked firmware. Now the device will flash to ford or mazda IDS v98. the device will not be detected at first (say you used ford IDS first). to switch from ford to mazda : 1- boot VCM in recovery mode 2- change device type using web browser 3- reboot VCM again in recovery mode 4- Launch Mazda IDS and reflash the VCM. The same steps are used to flash back into ford firmware. I have not tried folder swapping and using a single firmware for both programs but I bet it would work. Because of the nature of my work, I can live with reflashing between both programs. they reside on the same HDD in a triple boot setup. the third OS is used for something else. I use deep freeze for my ford license works like a charm. Mazda doesn’t need anything done, only a valid device type and serial. On a side note, I tested the device in 3 different win7 environments, and it just refuses to work in 2 of them. the ETAS driver keeps acting weird and sometimes detects an unknon device. on the 3rd one the driver is happy to see a good VCM2. Go figure… I setup both IDS programs in Win XP intances and it works fine.
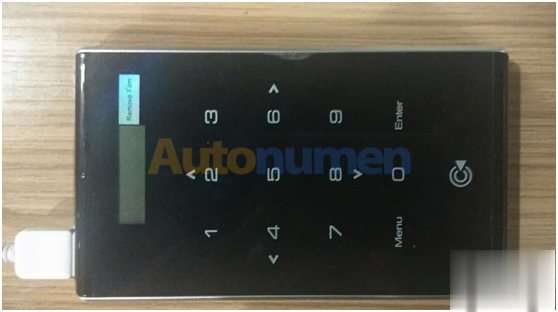
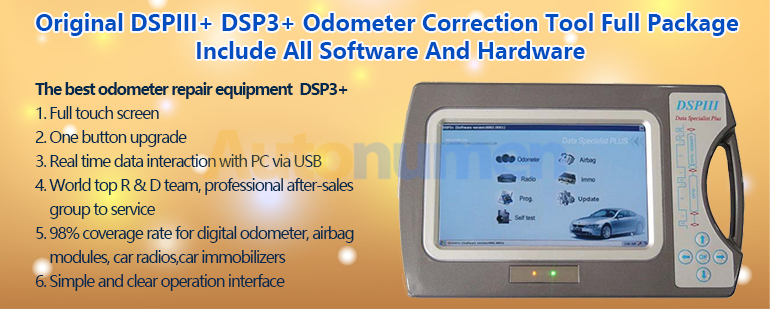
DSP3+ Odometer TOOL full package (include all software and hardware)Free 2021 update with DSP3+ Full version!Adjusting kilometers with DSP3+Popular milage programmerAdvanced device programmerConversion from Miles to KilometersMotorola device programmerEEPROM device programmer The most advanced odometer adjustment tool for professionalsThe most complete version to cover odometer mileage adjustment, airbag reset, some immobilizer programming and radio decoding.
The best odometer repair equipment DSP3+ 1.Full touch screen 2.One button upgrade 3.Real time data interaction with PC via USB 4.World top R & D team, professional after-sales group to service 5.98% coverage rate for digital odometer, airbag modules, car radios,car immobilizers 6.Simple and clear operation interface
DSP3+ Odometer TOOL full package (include all software and hardware) Free 2021 update with DSP3+ Full version! Adjusting kilometers with DSP3+ Popular milage programmer Advanced device programmer Conversion from Miles to Kilometers Motorola device programmer EEPROM device programmer
The most advanced odometer adjustment tool for professionals The most complete version to cover odometer mileage adjustment, airbag reset, some immobilizer programming and radio decoding. No limitation on odometer software! Can be used as stand along device programmer to access any EEPROM and MCU found in automotive industry these days.
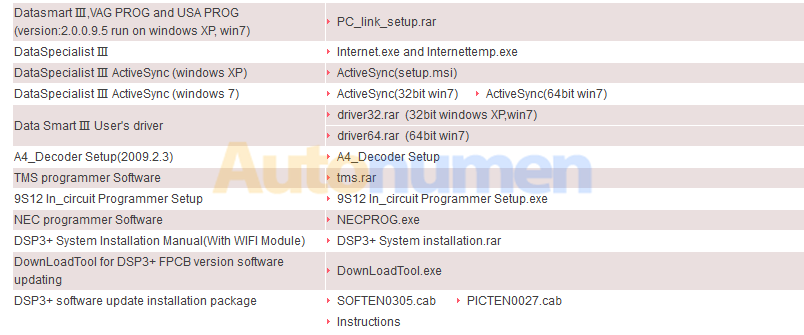
Software: “Full software” includes FULL ODOMETER and some AIRBAG/RADIO/ IMMO coverage using OBD2 and direct programming of EEPROMs and MCUs. For complete coverage advice with “Vehicle List” below.
Hardware: PDA main unit. Includes the full set of all available adapters: EEPROM, Motorola, NEC, TMS 374, HC711, HC908, 9(S)12 in-circuit, HC705, EWS, NDM457, ST624, TMS 370, CMM, OBD, JC, AVR/PIC, D80/160, Multiplex, C-04, Denso. Includes all connectors and clips: MERCEDES-38 connector, BWM-20 connector, BMW CAS cables, Mercedes cluster cable, FCA chrysler cable, SD card, WiFi adapter, SOIC8 clip, touch-holders (T-01, T-02, T-03, T-04), USB cable, power cables.
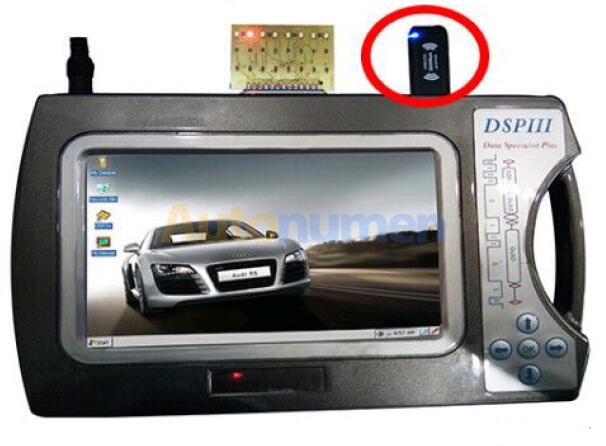
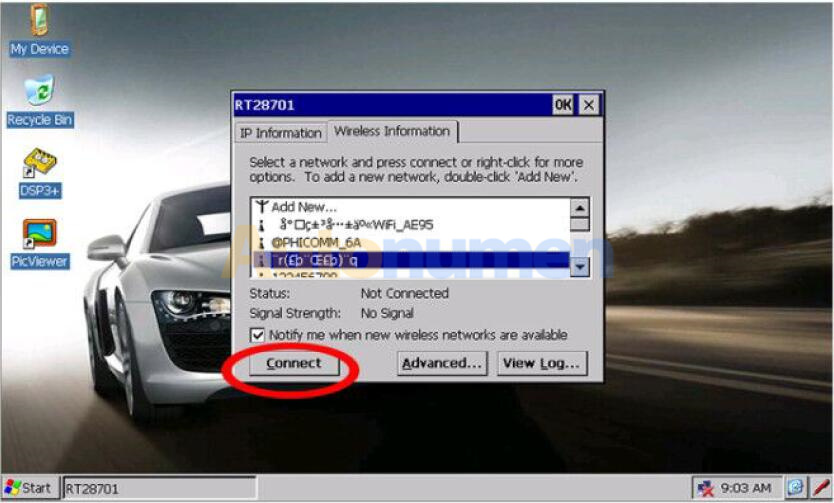
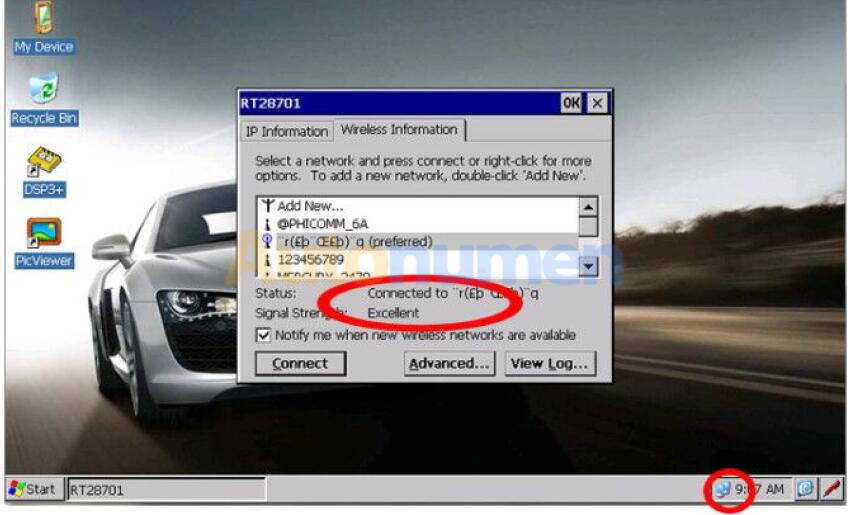
1. Insert the wireless adapter first , it will show the pop-up dialog automatically
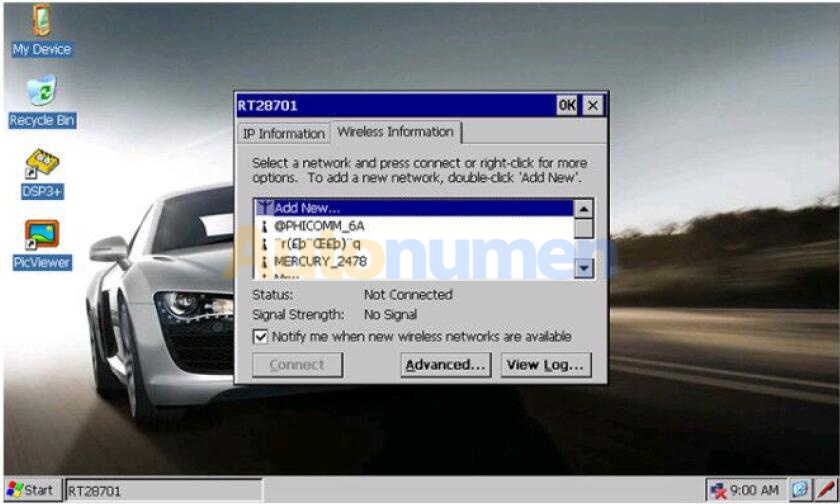
2.Find your wireless network , click “Connect”.
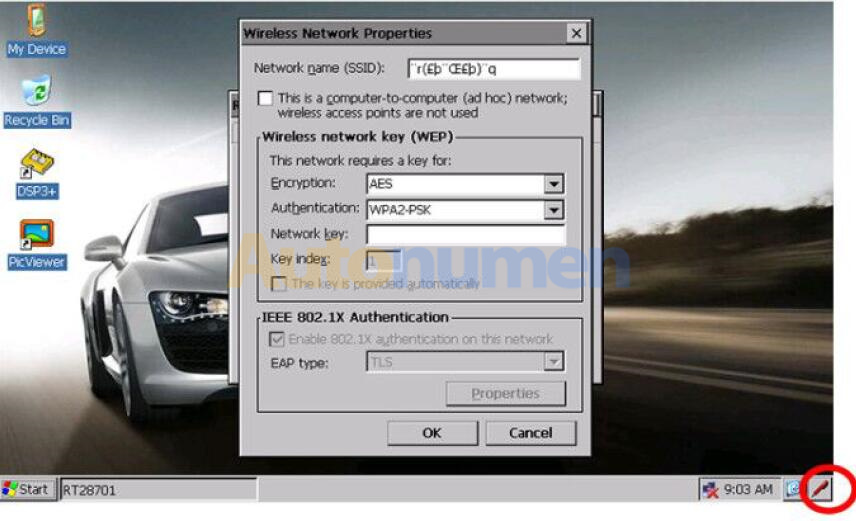
3. Click the red pen in the lower right corner to call out the keyboard .
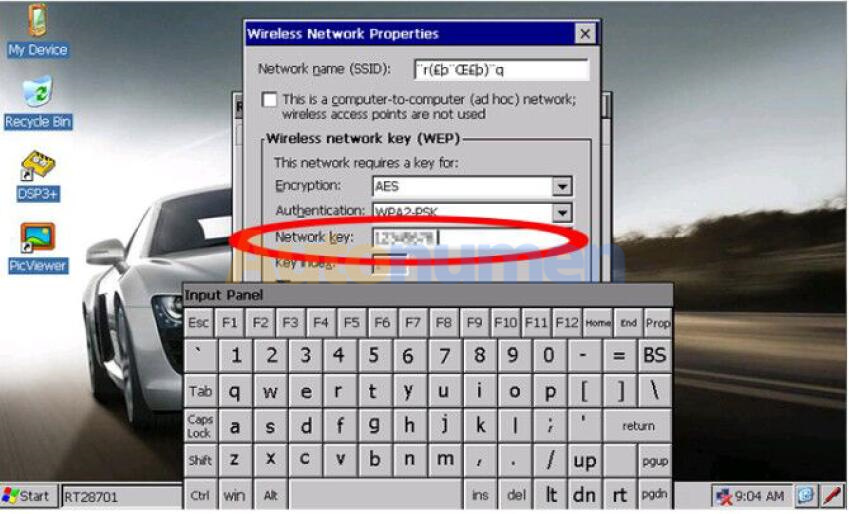
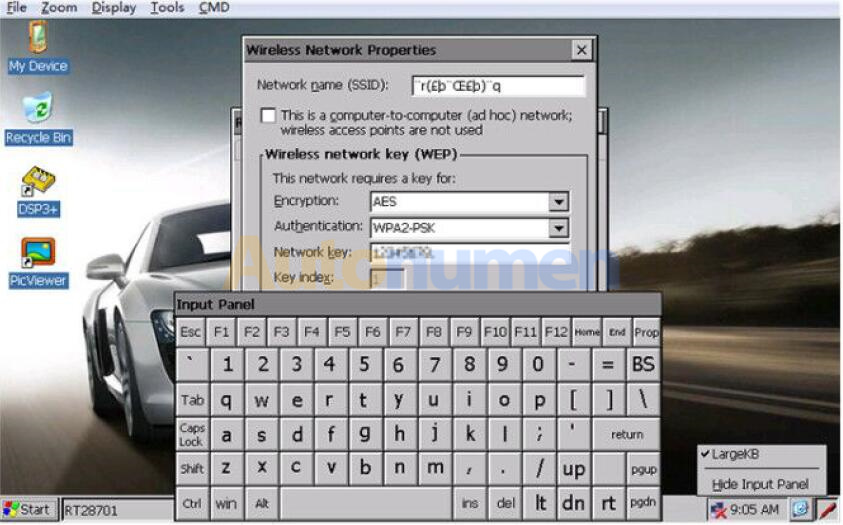
4. The keyboard can be dragged freely , input the password in the ” Network key ” 5. You can click the red pen again to hide the keyboard . 6. Then click “OK”